Input
With inputs tags you can create input fields in the Silverfin templating language.
Input tags allow users to enter information in an input field and stores this information in a custom drop. Drops can be seen as a "database" and are used to access data from Silverfin.
To reference an item in a custom drop, you always need "a namespace" and "a key". A custom drop with namespace 'the_namespace', and key 'the_key', would look like this: {% input custom.the_namespace.the_key %}.
The namespace and key should be given logical names, i.e. custom.cost.value.
{% input custom.the_namespace.the_key %}
As attribute
The inputted data will always be saved as a String in the database and interpreted based on how it is used in the template. Thus, even when you enter data as a currency, it will be interpreted as a string.
To change the data type of the input field, you use the as attribute.
| Attribute | Description |
|---|---|
| none | No attribute is specified, standard string field. |
| text | Standard string field as a text input. |
| currency | Numeric value with decimals. Accepts invert as additional attribute. |
| integer | Numeric value without decimals. Rounds to the nearest whole number. |
| percentage | Percentage value. Accepts precision and strip_insignificant_zeros as additional attribute. |
| boolean | Checkbox with values blank, true or false. |
| date | Date picker that stores the date as a string. Accepts format as additional attribute. |
| file | Paperclip to attach one or multiple files. Accepts max_size as additional attribute. |
| document.link | A link for all attached document(s) that will take you to the 'document preview' page. |
| select | Dropdown input. Needs the options attribute. Also accepts option_values |
| account_collection | Hashtag that allows you to select accounts from a certain range. Needs the range attribute. Also accepts the accounts_var attribute. |
| external_account_collection | Hashtag that allows you to select accounts from an external company from a certain range. Needs the range and company attribute. Also accepts the accounts_var and company attribute. |
| external_company_collection | Modal that allows you to select companies from the Company links. Also accepts the companies_var and single_selection attribute. |
none
When you're not using the as attribute, you get a standard string field.
{% input custom.the_namespace.the_key %}text
Use the "as:text" attribute to show a standard string field as a text field.
{% input custom.the_namespace.the_key as:text %}
currency
Use the "as:currency" attribute to show a standard string field as a numeric value with decimals.
{% input custom.amortisation.begin_value as:currency %}
invert
If you want to store a currency in the database with the opposite sign of what has been inputted, you can add the invert attribute.
Check out this case on Community for a practical implementation.
{% input custom.amortisation.begin_value as:currency,invert:true assign:amortisation_begin_value %}
{{ amortisation_begin_value | currency }}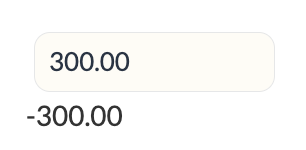
integer
Use the "as:integer" attribute to show a standard string field as a numeric value without decimals.
{% input custom.actions.amount as:integer %}
percentage
Use the "as:percentage" attribute to show a standard string field as a percentage value.
{% input custom.actions.percentage as:percentage %}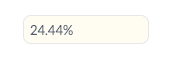
precision attribute
Defines the amount of decimals stored for percentage or currency values.
{% input custom.some.value1 as:percentage precision:10 %}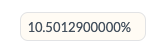
strip_insignificant_zeros attribute
If you set "strip_insignificant_zeros:true", the final decimal zeros from a percentage value will be removed.
{% input custom.some.value1 as:percentage precision:10 %}

{% input custom.some.value2 as:percentage precision:10 strip_insignificant_zeros:true %}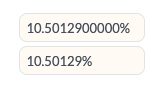
boolean
Use the "as:boolean" attribute to create a checkbox.
{% input custom.check.done as:boolean %} Check if done
The variable will return true when the box is checked and false when the box is unchecked.
If the input hasn't been touched, regardless of the default value, the variable will return blank.
{{ custom.check.done }}date
Use the "as:date" attribute to show a standard string field as a date.
{% input custom.asset.date_of_acquisisiton as:date %}
date format
Customize how the date is displayed inside the input field using the 'format' attribute. In the 'Date and Time' section there is a list of useful format types that can be applied.
{% input custom.asset.date_of_acquisisiton as:date format:'%Y' %}file
Use the "as:file" attribute to give the opportunity to upload an attachment or annex that can contain multiple files by clicking the paperclip icon.
{% input custom.the_namespace.the_key as:file %}
show_label attribute
When true, this attribute will add a label to the file input field. The attribute will mention 'Attach' when the file input is empty, and 'Manage' when there input contains data.
{% input custom.the_namespace.the_key as:file show_label:true %}

max_size attribute
This attribute will limit the user to add attachments that exceed the specified maximum in MB.
Silverfin uses the 1kB = 1000 bytes convention
{% input custom.some.thing as:file max_size:2 %}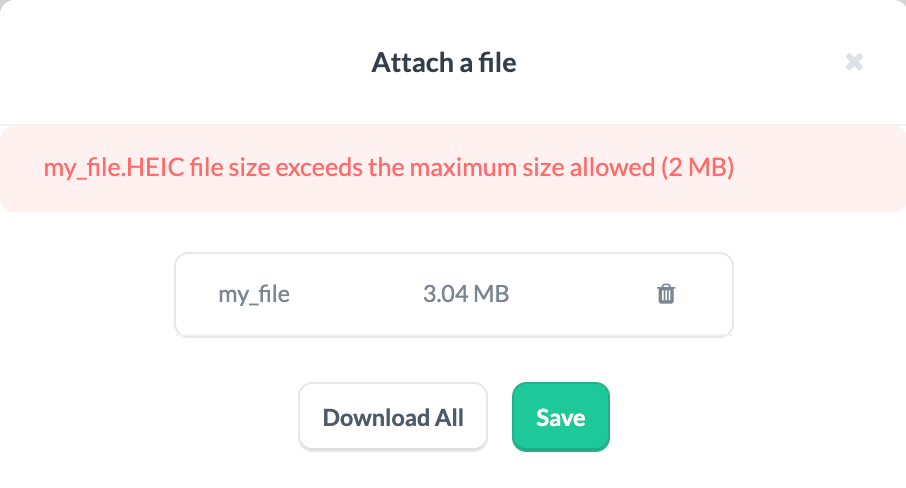
document attribute
Adding '.document' when printing the value of a custom, will show the name of the (first) attached document.
{% input custom.some.thing as:file %}
{{ custom.some.thing.document }}
documents attribute
Adding '.documents' when printing the value of a custom, will show the names of all the attached documents.
{% input custom.some.thing as:file %}
{{ custom.some.thing.documents  }}
size attribute
Count the number of files attached.
{{ custom.some.thing.documents.size }}
document link
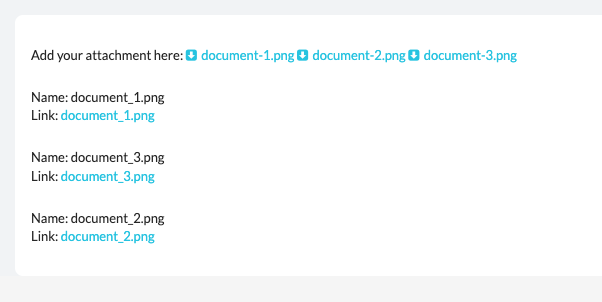
In our database, in addition to accessing the document.name, you can also access the document.link for all attached documents. Clicking on the link of the document(s) will take you to the 'document preview' page. It's important to note that document.link essentially provides the same functionality as the preview view, but within the input view.
Below, you can find an example:
Add your attachment here: {% input custom.some.files as:file %}

{% for doc in custom.some.files.documents %}
  Name: {{ doc.file_name }}
  Link: {{ doc.link }}
{% endfor %}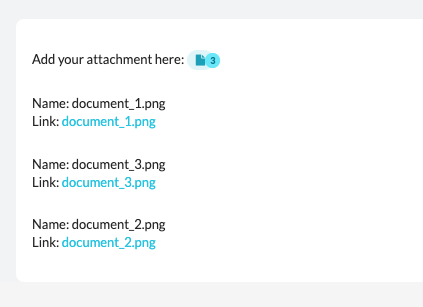
external document attribute
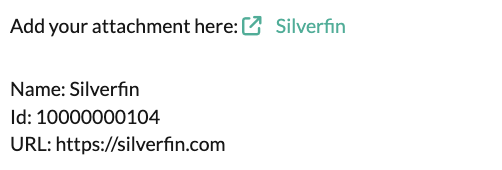
We support an external link option that allows you to attach links to resources hosted outside the platform — such as web pages, documents, or any other external content.
These links can be attached by clicking on the link of the document(s), which will take you to the Document Preview page where the link can be added or previewed.
You can also access the attached links through: custom.some.files.external_links. This returns a list of links, and each external link includes a name, ID, and URL as properties that can be used to display and identify the external resource.
Unlike standard attachments, external document links lack default rollforward capability.
Below, you can find an example:
Add your attachment here: {% input custom.some.files as:file %}

{% for link in custom.some.files.external_links %}
    Name: {{ link.name }}
    Id: {{ link.id }}
    URL: {{ link.url }}
{% endfor %}
select
Use the "as:select" attribute to create a dropdown.
options attribute
The select attribute needs to be accompanied by the option attribute. The option attribute contains a list of possible options which are divided by a pipe |.
{% input custom.taxrate.dropdown as:select options:"6%|12%|21%" %}
Printing the variable will output the value of the chosen option.
{% input custom.btw.dropdown as:select options:"6%|12%|21%" %}

{{ custom.btw.dropdown }}
option_values attribute (recommended)
We recommend adding the attribute option_values. The value returned by the variable will in this case not be the options presented, but rather the corresponding option_value.
{% input custom.btw.dropdown as:select
	options:"6%|12%|21%" option_values:"0.06|0.12|0.21" %}

{{ custom.btw.dropdown }}
assign_option
This attribute allows you to create a variable returning the chosen option presented, instead of the corresponding option value.
{% input custom.vat.dropdown as:select options:"6%|12%|21%" option_values:"0.06|0.12|0.21" assign:chosen_value assign_option:chosen_vat %}

The actual value: {{ chosen_value }}
The presented value: {{ chosen_vat }}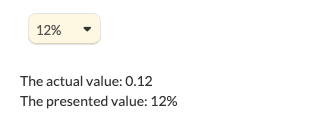
account_collection
With account collections you are able to select accounts from a certain range of accounts.
range attribute
An account collection always needs the range attribute.
{% input custom.benefit_in_kind.range as:account_collection range:"6" %}

On the right side you see the available accounts.
On the left side you see the selected accounts.
Ranges can be further refined by using comma's and/or double underscores. The comma's will select individual account ranges. For example:
{% input custom.benefit_in_kind.range as:account_collection range:"4,7" %}This range will return all 4 and 7 accounts.
Using double underscore will select the entire range of accounts. For example:
{% input custom.benefit_in_kind.range as:account_collection range:"4__7" %}This range will return all 4, 5, 6 and 7 accounts.
accounts_var attribute (optional)
This attribute can only be used inside an input tag of the type accounts_collection, and it is useful to assign the accounts selected in that input to the variable name that is defined.
{% input custom.drop.acc as:account_collection range:1 accounts_var:accounts_selected %}Using the previous syntax is equivalent to doing this:
{% input custom.drop.acc as:account_collection range:1 %}
{% assign acounts_assigned = period.accounts | range:custom.drop.acc %}
Other methods can't be consideredIt is important to mention that 'accounts_var' works as a simple way of assigning the accounts of the current period to a variable. It cannot be combined with other methods on the accounts drop, such as 'include_zeros' or 'minus_1y' on the period.
In any other situation rather than the example shown above, you should avoid using the 'accounts_var' attribute and create the variable using the 'assign' tag in a following step.
external_account_collection
With external account collections you are able to select accounts from a certain range of accounts from an external company.
range attribute
The external account collection always needs the range attribute. The range attribute will add a range of accounts from the external company. Apart from that, the behaviour is the same as for the range attribute in a regular account_collection.
company attribute
The external account collection always needs the company attribute. The company attribute sets the company from which the accounts can be selected. This attribute only accepts the company id from the external_company drop.
{% input custom.external.account as:external_account_collection range:6,7 company:comp %}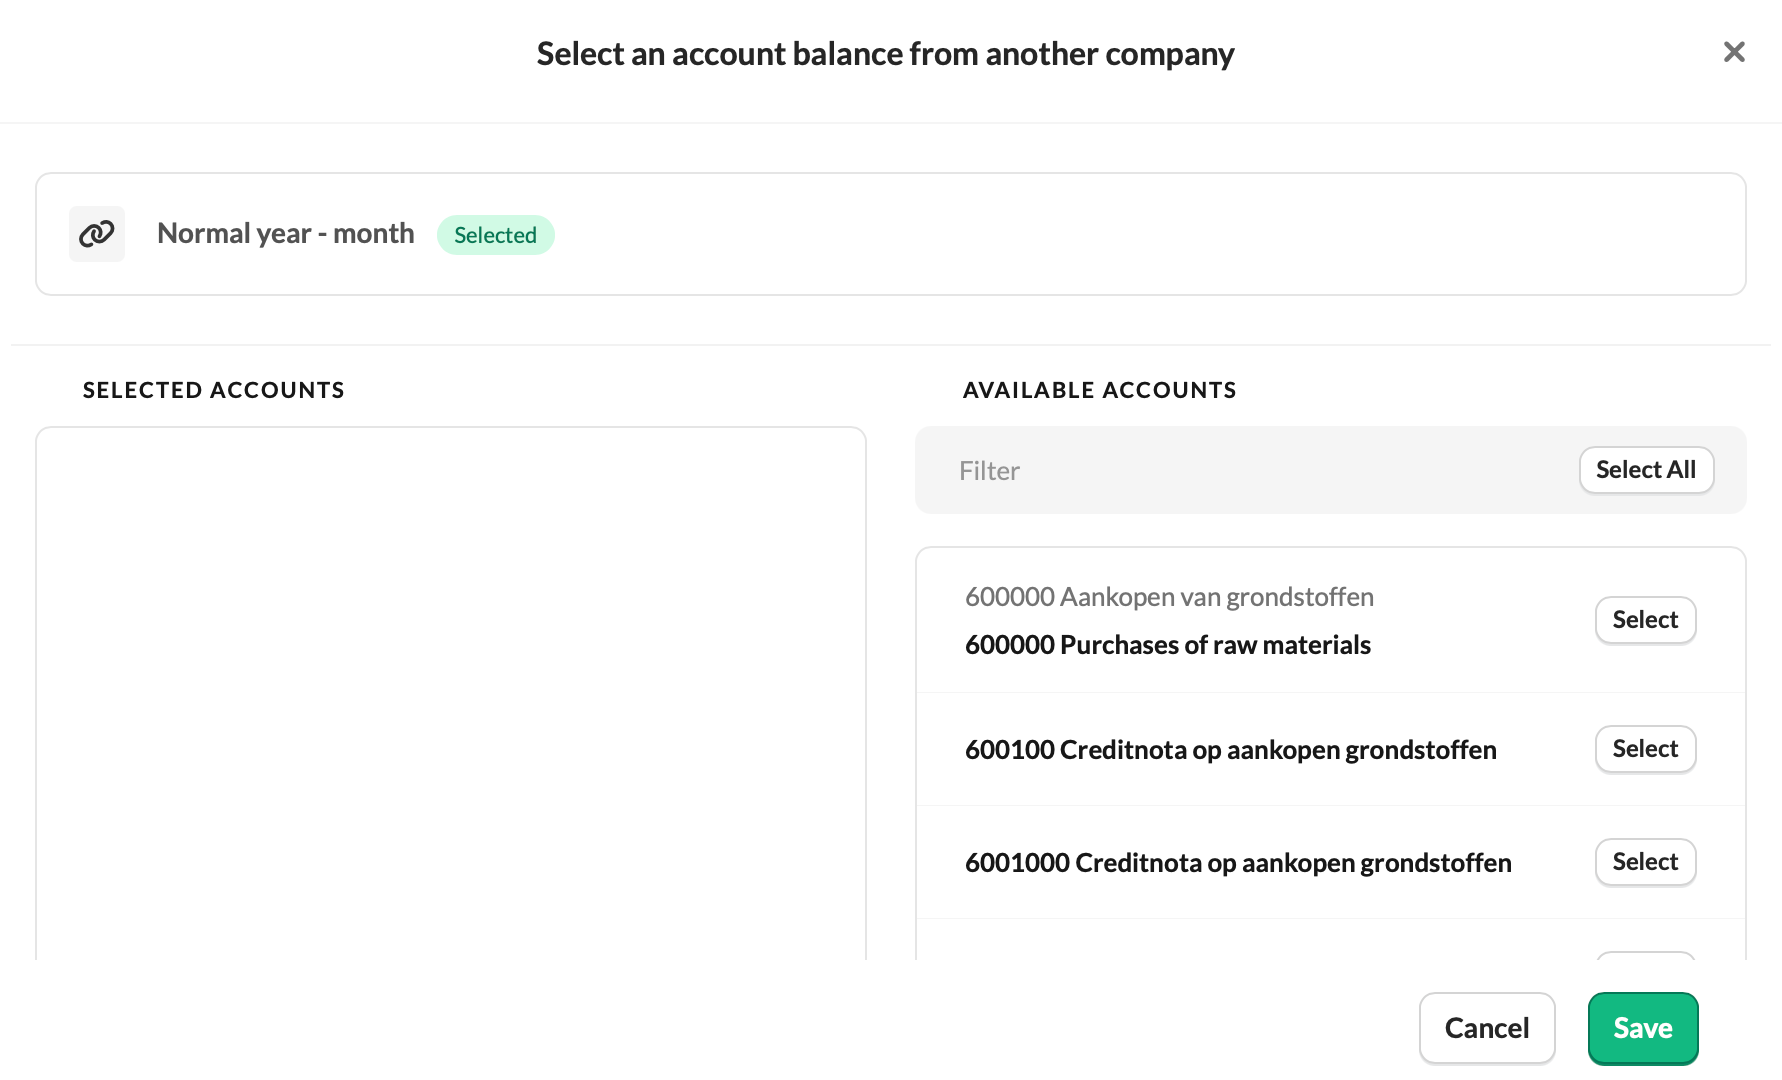
accounts_var attribute (optional)
This attribute can only be used inside an input tag of the type accounts_collection and external_account_collection, and it is useful to assign the accounts selected in that input to the variable name that is defined.
external_company_collection
The external company selector allows you to select companies from the Company links.
companies_var attribute
This attribute can only be used inside an input tag of the type external_company_collection, and it is useful to assign the companies selected in that input to the variable name that is defined.
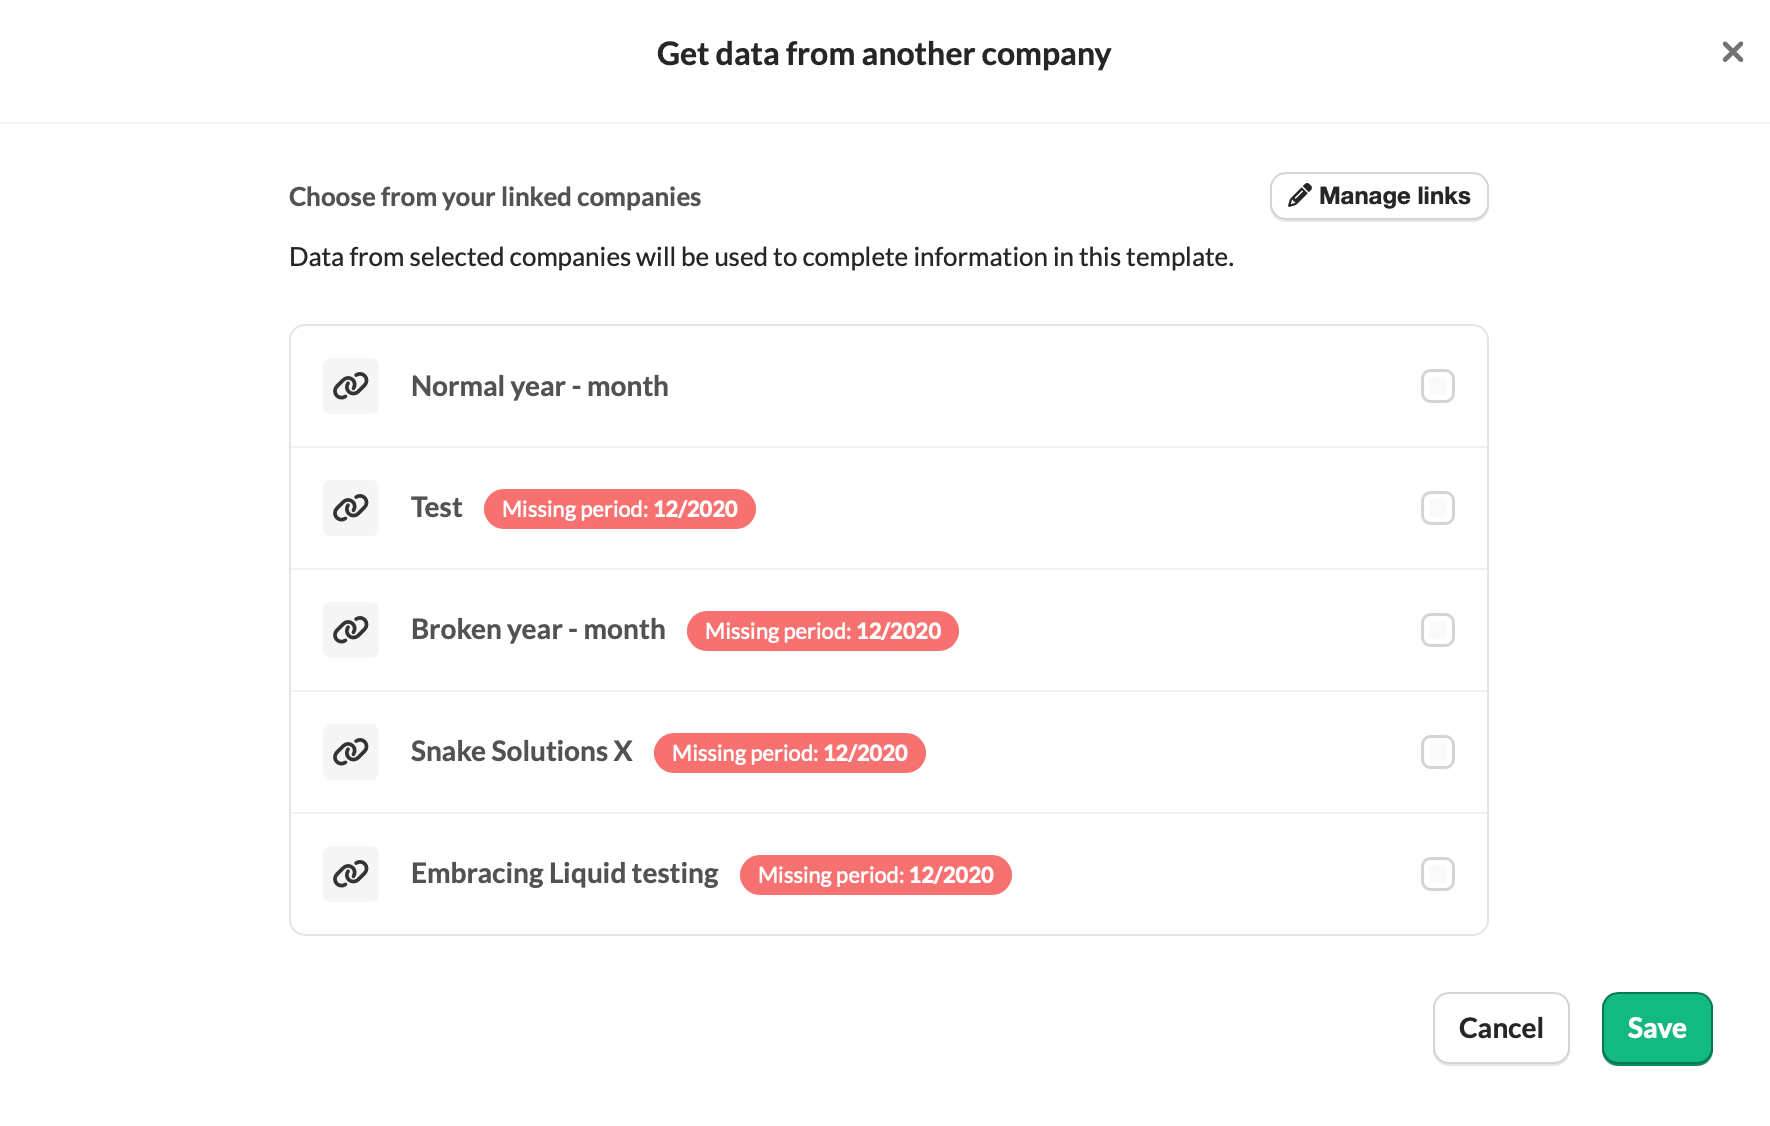
{% input custom.external.companies as:external_company_collection companies_var:linked_companies %}Using the previous syntax is equivalent to doing this
{% input custom.external.companies as:external_company_collection %}
{% assign selected_external_companies = company.external_companies | range:custom.external.companies %}
single_selection attribute
This attribute limits the amount of companies that can be selected in the external_company_collection to one.
{% input custom.external.companies as:external_company_collection single_selection:true %}
Default attribute
Another optional attribute is the default attribute. You can use it in combination with nearly any type of input tag to display a default value. Here are some examples:
currency
{% input custom.amortisation.value as:currency default:100 %}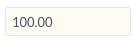
account_collection
{% input custom.benefit_in_kind.range as:account_collection
	range:"6" default:"61" %}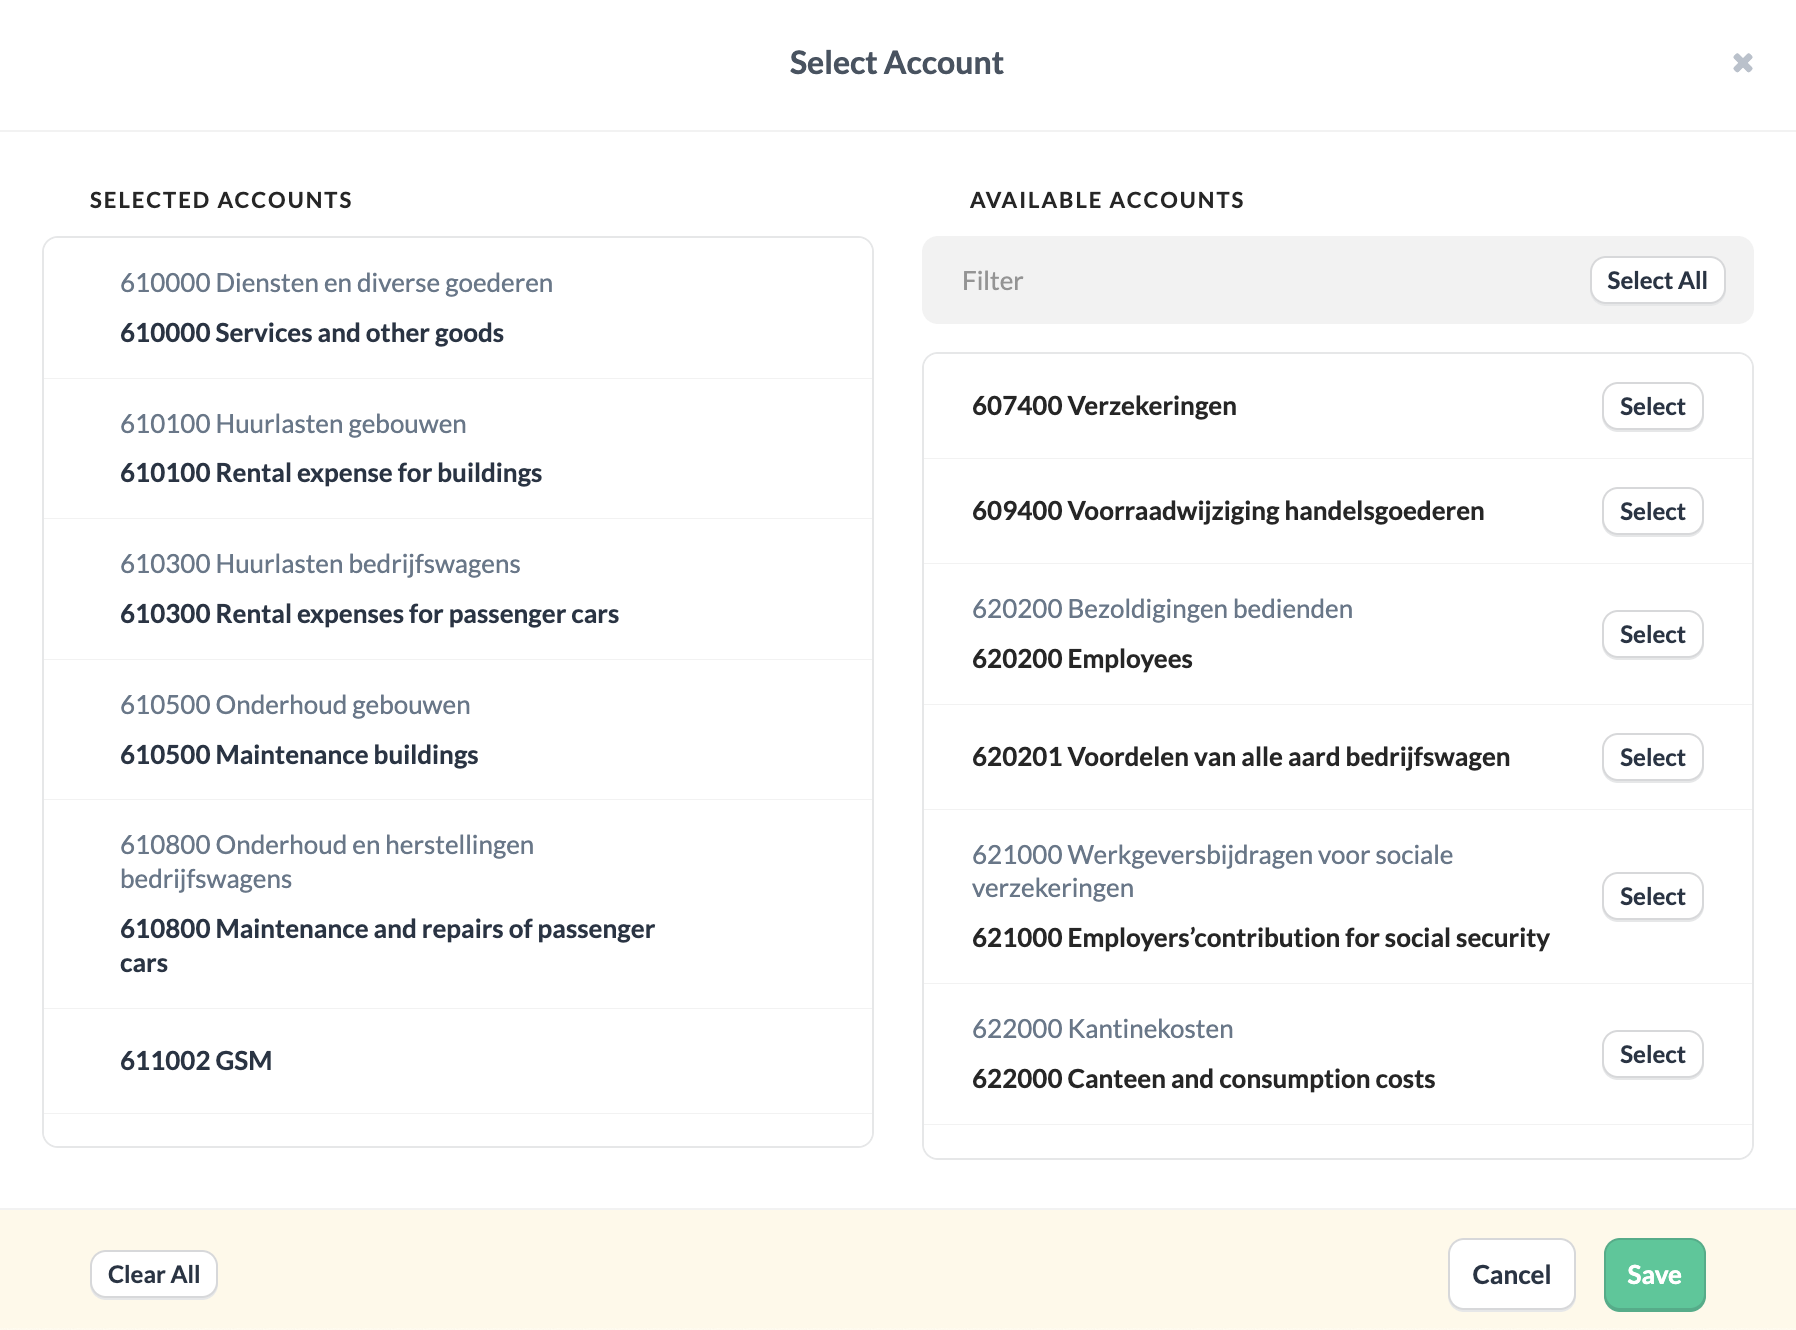
The accounts beginning with "61" are shown on the left without having to select them.
overwriting default values
When you overwrite a default value, Silverfin marks the field with a yellow triangle in the left top corner of the input field.
{% input custom.amortisation.value as:currency default:100 %}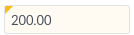
A default value is not, however, saved in the database. Printing the custom will not show the default value! Check out this case for an example of how to refer to custom variables with defaults.
Placeholder attribute
When creating an input field, the last part of your variable name (i.e. the key) is shown as a placeholder. In this particular case, it is value.
{% input custom.amortisation.value %}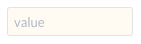
You can change the placeholder with the placeholder attribute.
{% input custom.amortisation.value placeholder:"Amortisation value" %}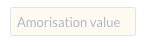
It's good practice to always define a placeholder.
Assign attribute
The assign attribute creates a local variable that contains the value of the custom variable. If the custom variable is blank, and a default has been defined, then the local variable will take the default value.
{% input custom.taxrate.value as:select options:"6%|12%|21%" default:"21%" assign:taxrate %}

{{ taxrate }}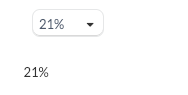
Required attribute
The required attribute allows you to make the input field mandatory. In other words, by using the required attribute you specify that the field must be filled out before submitting the form.
Please note that the required attribute has a direct impact on the reconciliation of a template.
In case there are mandatory fields that are not completed, the template will be unreconciled and you will see a red triangle next to the name of the template.
**Name:** {% input custom.person.name required:true placeholder:"Name" %}
**Surname:** {% input custom.person.name required:true placeholder:"Surname" %}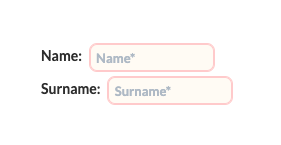
Read more on this topic in this case on the Community.
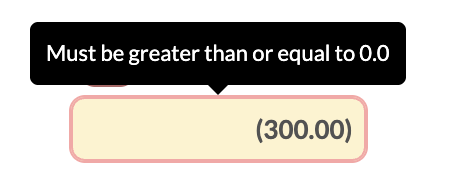
Validation attribute
The validationattribute can be used (if one has created the input_validation first), in order to guide the user to create the correct data type (e.g. only allowing to create positive values).
Please note that the validation attribute has a direct impact on the reconciliation of a template.In case there are fields in which incorrect data has been created, these fields will be marked and will force the template to be unreconciled as well.
{% input custom.depreciation.value as:currency placeholder:0 validation:validation_positive_values %}Output of the code:
Import title attribute
By default, inside a custom collection, the name of the input field shown when using the "import reconciliation data" action is the "key" on the variable name (or the "placeholder" if there is one). The import_title attribute allows you to override this behaviour and customize the title shown in the import screen.
This attribute can only be applied in input fields inside a fori loop as the "import reconciliation data" action only works for custom collections.
Liquid code:
{% fori employee in custom.employees %}
  {% input employee.name %}
  {% input employee.date_of_birth as:date placeholder:'dd/mm/yyyy' import_title:'Date of birth' %}
{% endfori %}
Import reconciliation data screen:

You can find more information regarding the titles in the import reconciliation data in this community case
The import_title attribute can also be used on the name of the custom collection.
Updated 7 months ago