Liquid testing guidelines
What?
General concept
Liquid testing is an essential part of the testing phase in theDefinition of Done. Next to functional testing, export/preview/workflow review screen testing, testing on all languages and testing external/internal links, code testing is equally important. To facilitate code testing, liquid testing has been put in place.
The primary goal of liquid testing is to improve the quality of output and avoid errors or bugs in your code when updating or releasing templates. In order to accomplish this, Silverfin introduces liquid testing which enables developers to run an automated set of tests that should be run before each liquid code update.
The general concept of liquid testing is to take the smallest piece of testable code in the template (i.e. ‘unit’), isolate it from the remainder of the code, and determine whether it behaves exactly as you expect by validating against pre-defined expected outputs (in the form of generated results, impact on reconciliation status of the template and rollforward parameters).
In order to determine what a sensible unit is, both the liquid code structure as well as the template’s functionality should always be considered.
Liquid tests ≠ End-to-end testing
The key takeaway is that liquid testing on its own does not cover end-to-end testing. Liquid testing is only a part of our entire Definition of Done or a part of an end-to-end test cycle.
It is therefore important to understand that liquid tests are of a technical nature and are used for code validation. We are not validating functional test scenarios for entire template (sets). Liquid tests can be used however to help validate functional test scenarios, together with the other elements of the Definition of Done.
Furthermore, it is important to understand these liquid tests are not of a static nature. The tests will be constantly evolving, updated and added. In fact, every time a bug for a template is reported, the existing liquid tests should be reviewed.
Liquid testing naming concepts and structure
To improve understanding of these liquid testing guidelines, please find some recurring key concepts explained below:
- A test suite is the entire content of the box, containing one or more units and tests;
- A unit refers to a unit of code or section of a template, with specific functionality in the template. For one unit, multiple tests can be written;
- Each test validates specific behaviour within a unit. Each test scenario is a unique combination of context and data leading to a unique outcome or expectation;
- The context defines the period for which the code will be run (and the period to which data will be rollforwarded);
- Data insight the test block contains information on the test parameters. Company, period, reconciliations and accounts data is populated in the data section of your test;
- An expectation is a block that lists all the results, reconciliation status and rollforward parameters that you expect the subject template to produce.
Where?
Liquid testing in Silverfin
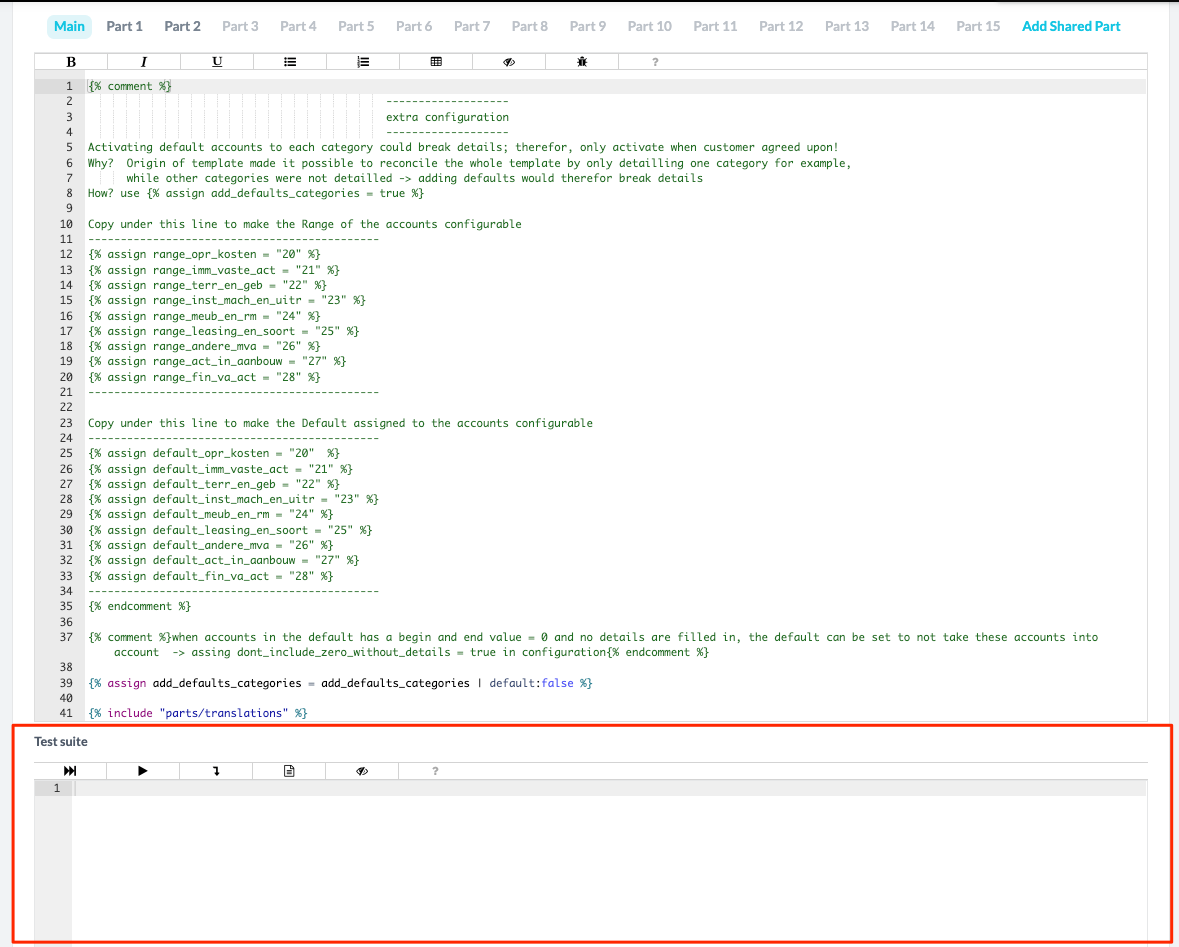
Tests are written, edited and stored in the Test suite which can be accessed underneath the Liquid code of a reconciliation template on partner level. Whenever a test is written on partner level and the save button for the template is pushed, the test code will be stored together with the Liquid code of the template. As for the Liquid updates, changes to the Test suite will be shown in the template changelog (and can be reverted at any time). It is therefore important to also add a description in cases where you only update the Test suite of the template.
YAML
Liquid tests are written in YAML For all technical guidance on YAML please check our YAML documentation. For all specifics on writing tests, we refer to the chapters below.
Code editor
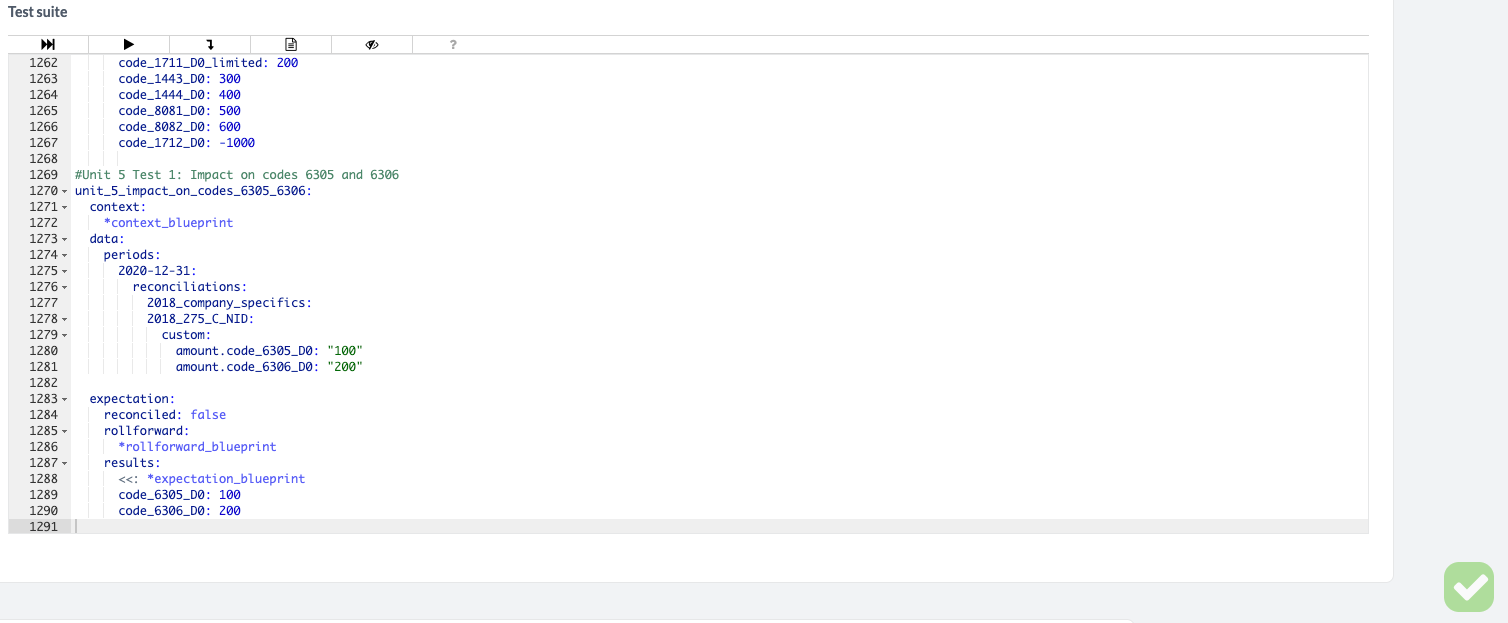
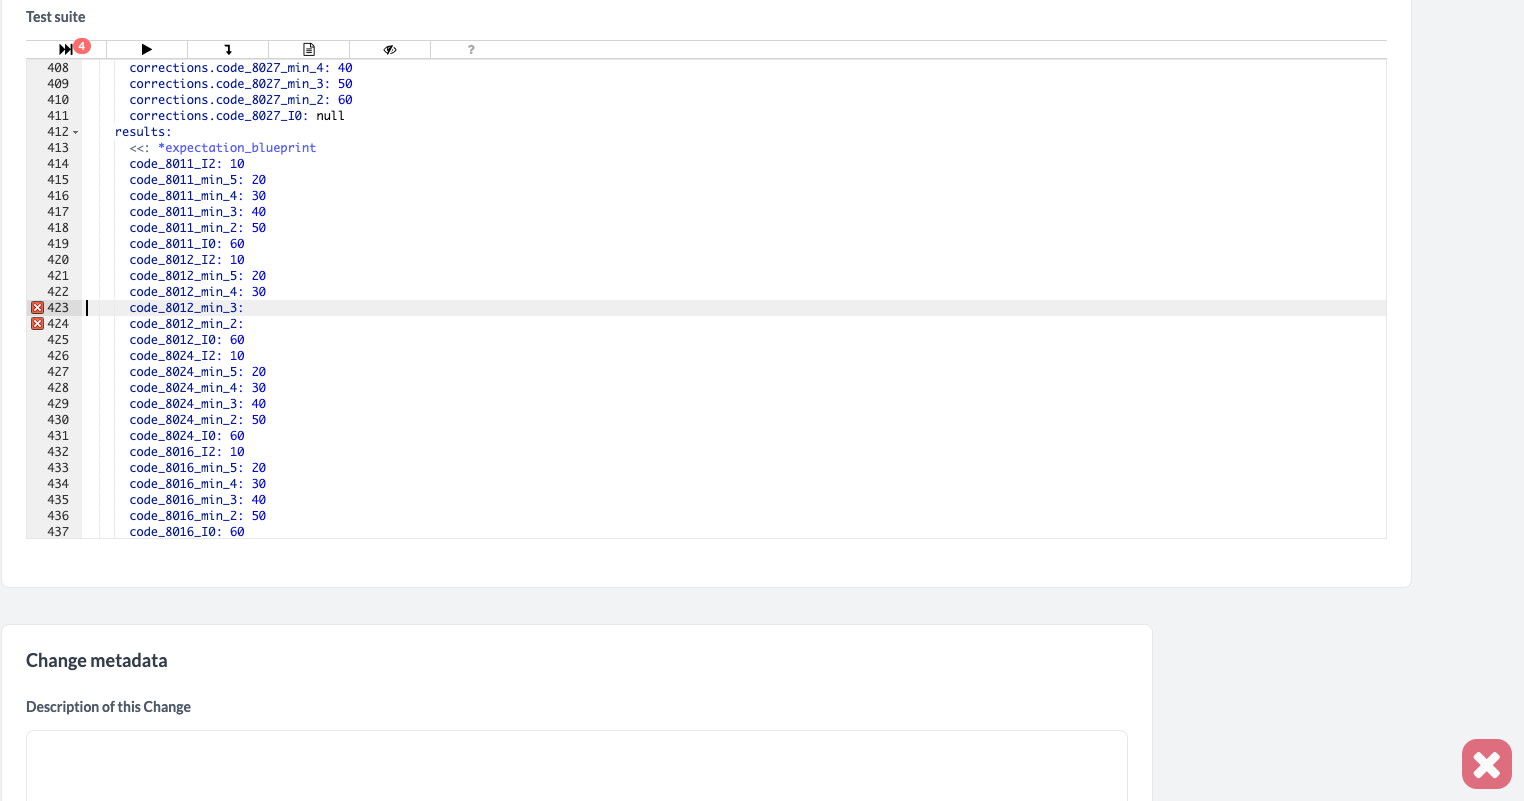
You will notice that the editor in the Test suite for writing tests is visually pretty similar to the Liquid editor. There are some specifics for this editor though, please find some information below:
.png")
- Next to the row numbers there is a possibility to collapse or expand code depending on level of indenting.
- The enables you to run all tests simultaneously
- Via the one single test can be run (important to place your cursor on the test definition/name line)
- To navigate through errors or test fails you can use
- The generates a sample test code which contains the minimum requirements for a valid test
- The shows differences in your code when editing (same as for the Liquid code editor)
- The finally links to the developer.silverfin site
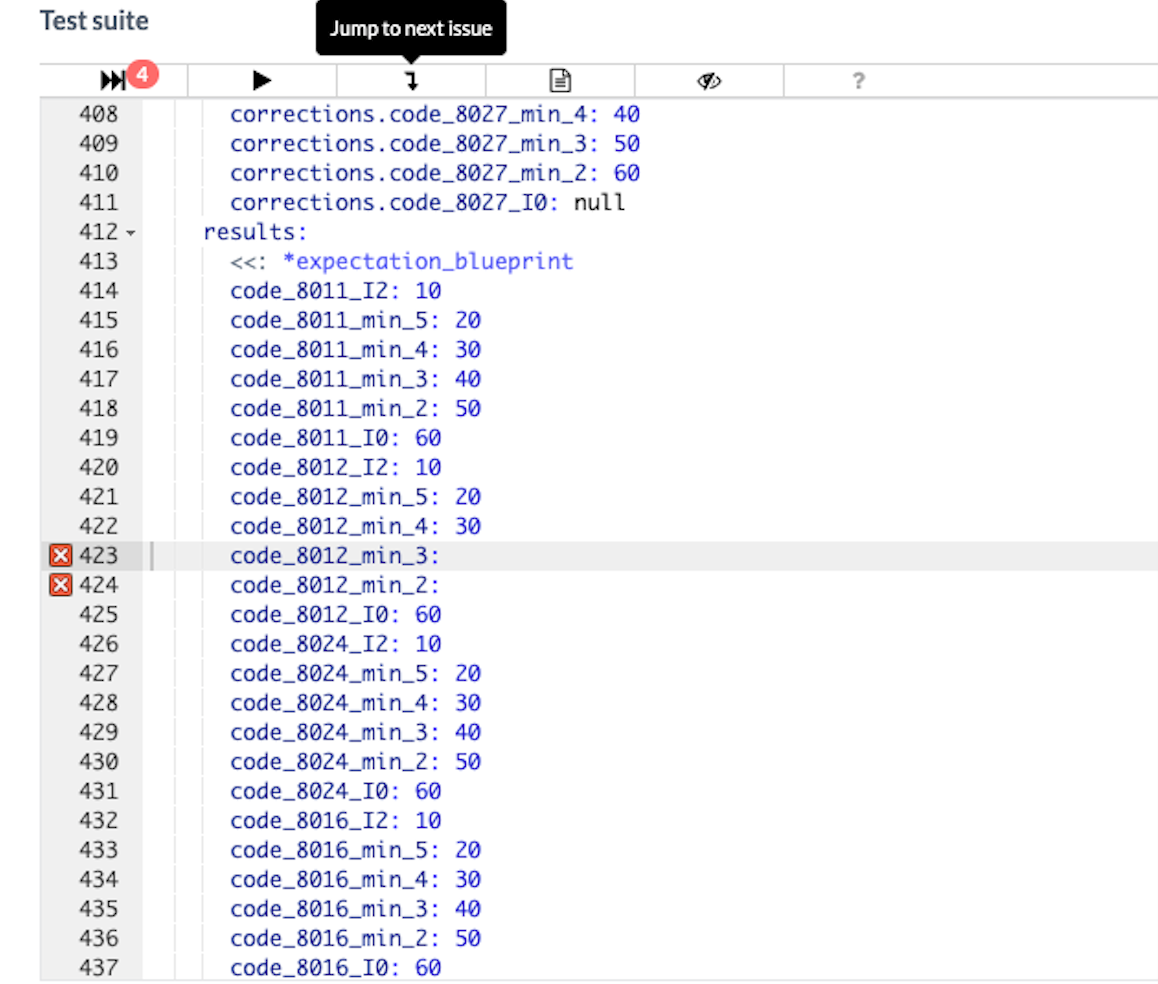
Running tests and error handling
When you click the Run test suite or Run single test button the test code will be run and will validate the code that is present in the Liquid editor. Note that it runs the template code that is shown, not stored. Meaning that if you make changes to the Liquid code, you don’t have to save this code first in order to validate the code with the written tests.
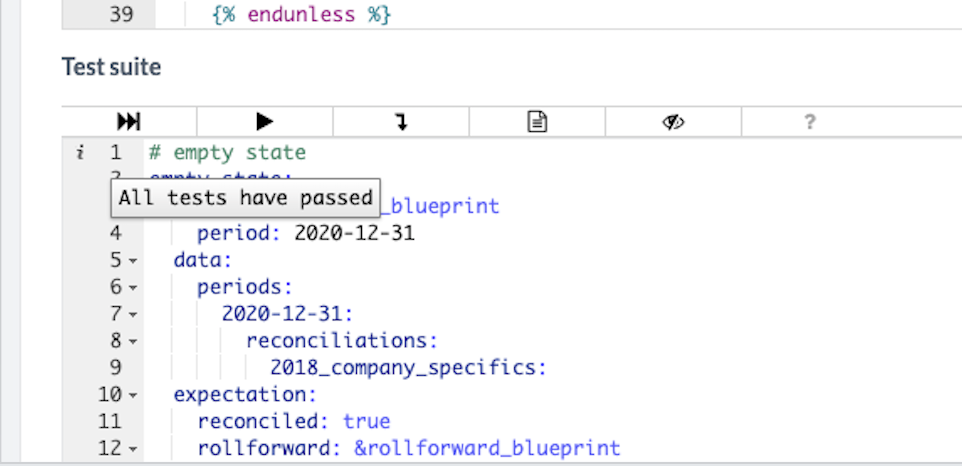
Depending on which icon you clicked, the tests will be run and will report back success or errors.
- In case of success:
- Green checkbox will appear in bottom right corner of your screen
- On line one of the editor, a pop-up message will inform all/the test(s) passed
- In case of failure
- Red cross will appear in bottom right corner of your screen
- Specific line numbers that fail will be highlighted together with an explanatory message
- Number of fails are indicated next to the Run test icon
In case of failure, you can use the button to navigate through the error rows.
For some more context, there are 3 kinds of errors in template testing:
- YAML syntax errors
- Validation errors
- Expectation errors or test failures
Type 1 (e.g. missing a colon after a key) and type 2 (e.g. your test missing the context key or a date field not having the appropriate date format) errors will stop the test suite from running, it’s important to have valid YAML code containing all minimal requirements in place before running the test suite.
Type 3 errors are the errors that actually validate the expected outcome of your tests e.g. a result missing or showing a different value from your expectations.
How?
Determine liquid tests and test scenarios
-
Define isolated parts of your code you want to test.
Take both code and functional considerations into account to determine which part of the code is deemed ‘sensible’ to test separately. E.g. if a subtotal consists out of the sum of different rows, and these rows are written in Liquid code by use of a loop structure, it makes sense to isolate the subtotal and to not write tests for each of the rows separately. -
Define relevant test scenarios for that piece of code (success and failed test paths).
Once you have isolated a piece of code you want to test, you should start thinking of relevant test scenarios. As a general approach, it is important that for each isolated part of your code, at least one success and one failed test path is written. How this failed and success path is approached depends on the use-case, there is no real blueprint that can be applied for every template for liquid testing purposes. A success path could be a scenario where the expected outcome is that the template is reconciled, while the opposite failed path could be that the template is unreconciled. But we could also easily write success or failed paths related to expected results or rollforward parameters, or a combination of the three output elements.
There are some things to cross-check in the liquid code and template functionality in every template that can help you to make sure all logical liquid tests are included in the test suite, e.g.:- What happens in the template when you manipulate data?
- Data from the reconciliation(s) drop:
- Custom variables in the template (input fields such as numbers, date, account collections, etc.)
- Custom variables from another template
- Results from another template
- Any other data from the reconciliation(s) drop
- Data from the company, people or user drop
- Data from the period drop
- Data from configuration
- Data from the reconciliation(s) drop:
- Check for mathematical operations. Should column A + column B = column C?
- Does the current period have an impact on the results of your template (e.g. 2019 triggers a different version of the template and different results are generated, now column C = column A - column B)?
- What amounts should rollforward to other periods? Is there any logic on what/when those values should be copied over?
- What makes your template reconciled/unreconciled?
- Check for logic flow statements in your code (i.e. if, case, unless) to see the different scenarios of your code and what conditions make your code generate different values/results.
- What happens in the template when you manipulate data?
Writing a test
Once you have determined which piece of code you want to test and thought of relevant test cases, you can start populating the test suite with your YAML code. In this chapter, we explain how a proper test is written.
For technical guidance on writing valid YAML code in the test suite, we refer to our YAML documentation.
- Name your test clearly
Pick a clear, descriptive and unique name for your test. This will improve code readability and error handling. As a best practice, you could name each test containing the name of the unit, the test and a short description of what the test is doing (i.e.unit_x_test_x_description_of_test). - Specify for which period you want to run your test
In the context section of the YAML file, you determine the period for which you want to run your test. - Testing set-up
Populate company, period, reconciliations and accounts data in the data section. In the data section, you create a mock-up of how a (fictional) company has completed the template. You can set the end date of the accounting year, determine which fields of the template are populated, whether configuration is added, etc. - Expected outcome
In the expectation section, one lists the expected outcome of the test for the current test period (as specified in the context section) with the given set-up (as specified in the data section). The outcome for the sake of liquid testing comes down to 3 elements that are checked for the specific template: reconciliation status, results and rollforward parameters.

Practically approaching liquid tests
- Coding best practices
General best practices that apply for Liquid coding guidelines also apply for liquid testing. For instance, always use English naming of variables and try to think about code readability and maintainability, etc. Once you start populating your test suite with different tests you might notice the need for smart and uniform coding. - Make use of debug mode
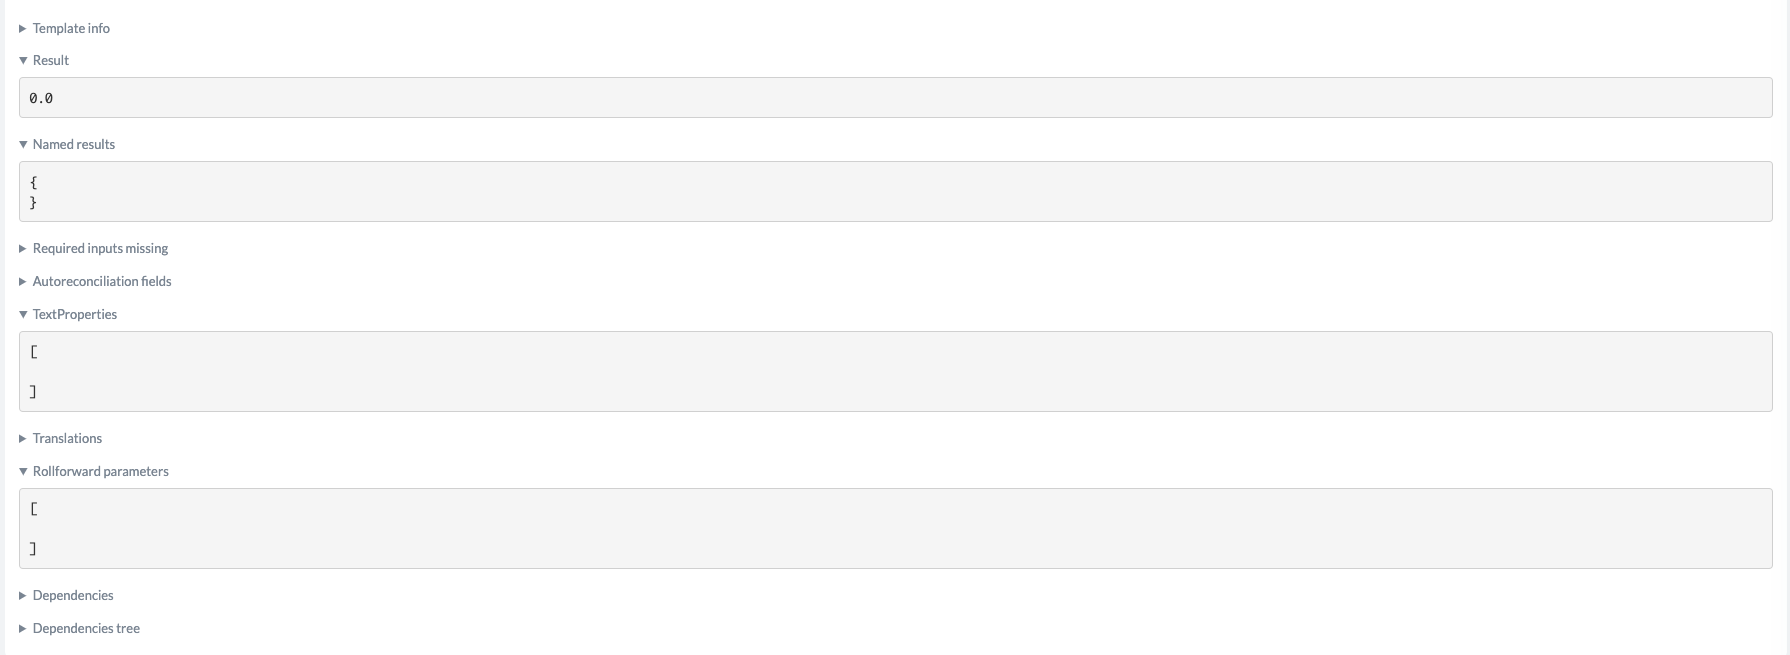
A best practice when writing new tests from scratch is to populate a template in a (demo) company and refer to debug mode. Debug mode will give you a direct overview of which fields are populated which can be easily copy-pasted to the data section but also gives you direct feedback on the outcome. Results, template reconciliation status and rollforward parameters can all be used and copy-pasted from debug view (i.e. Named results, Result and Rollforward parameters respectively).
.png")
- Start with an empty state
When writing different tests for a template, it might come in handy to start off with an empty state. With ‘empty state’ we refer to an untouched template in a company without any information stored in the database (for period, people, company or accounts drop). Although the value of this test itself might be quite limited, from a code perspective this can come in very handy especially in combination with anchors and aliases. The whole context and expectation section for instance can be put into an anchor and repeated for every test that follows (and be overwritten for all elements that differ per test).

- Derive tests based on the code
Liquid tests are from a technical nature. Therefore, most tests can be written based on the liquid code. By looking into the code, you can define tests or decide how test scenario’s should be split. E.g.: don’t test the same code twice even though functionally it appears as different sections or don’t skip duplicate code even though functionally the logic runs the same. - Test suite structure
As a best practice, try to structure your test cases by starting with the most common scenarios and continue down to edge cases. This approach will enable you to identify potential issues in the most common scenarios that impact the most users first.
Next to that, it’s important to be consistent in your test scenarios per test. For instance, start with success paths and continue with error paths per test. - Make use of anchors and aliases
A good way to reduce effort and code duplication is to make use of anchors and aliases. However, note that too many different anchors and aliases may only lead to confusion and harder-to-read code. Therefore, a good approach would be to define your global anchors on your empty state for data that can be reused in all tests and only overwrite anchors or create new anchors inside the first test scenario of a unit. A test beyond the first test of a unit should only call aliases and overwrite specific data, it shouldn’t define new anchors. More information on how to write and apply anchors and aliases can be found here. - Results
Liquid testing relies on the results that are generated in the template. As in each test scenario, all results are validated, it’s important to start from the results that already exist in the template when setting up tests and test scenarios. In case the existing results do not cover a correct validation of your identified test, additional results could be created (e.g. in case the sum of values A and B is considered a separate test, we need to make sure a result is created like {% result 'sum_a_and_b' a+b %}). However, it is important to note that a developer should always try to define test cases based on existing results and only create new ones as a last resort.
.png")
- Documentation
The importance of documentation is described below. But as a general best practice, we want to point out that having some written documentation in place containing information about which data of the UI is included in the units and the thought process of the different units and test scenarios would definitely be beneficial.
When?
As indicated in the introduction, liquid tests are an inherent part of the Definition of Done. Therefore, in an ideal scenario, liquid tests must be in place and run before every template update.
In fact, with the introduction of liquid testing we enable test driven development.
Test driven development is software development approach in which test cases are developed to specify and validate what the code will do.
Test driven development in this context basically comes down to first defining units and test scenarios, and subsequently writing the liquid code.
In other words:
- First think about and define the units, tests and desired outcome;
- Then write the liquid code to achieve the desired outcome;
- Once the liquid code is in place and the database text properties and results are created, the units and test scenarios can be transferred into YAML.
Documentation
Important to have a central place where tests are defined and documented per template. This place should serve as a single source of truth. In general, we should try to align the way we document template information with how we document liquid testing.
Of course, your liquid testing code should be as descriptive as possible. In a way, also the YAML code could serve as documentation. However, we would strongly recommend to also keep some high level written documentation in a separate place. As indicated in the introduction, written tests will be of a dynamic nature. These will change over time. Therefore it’s extremely important to have written documentation in place. Every time liquid tests are updated, documentation should be updated as well.
Updated 10 months ago